
Follow this post to learn how to setup shielded wall RJ45 Jack.
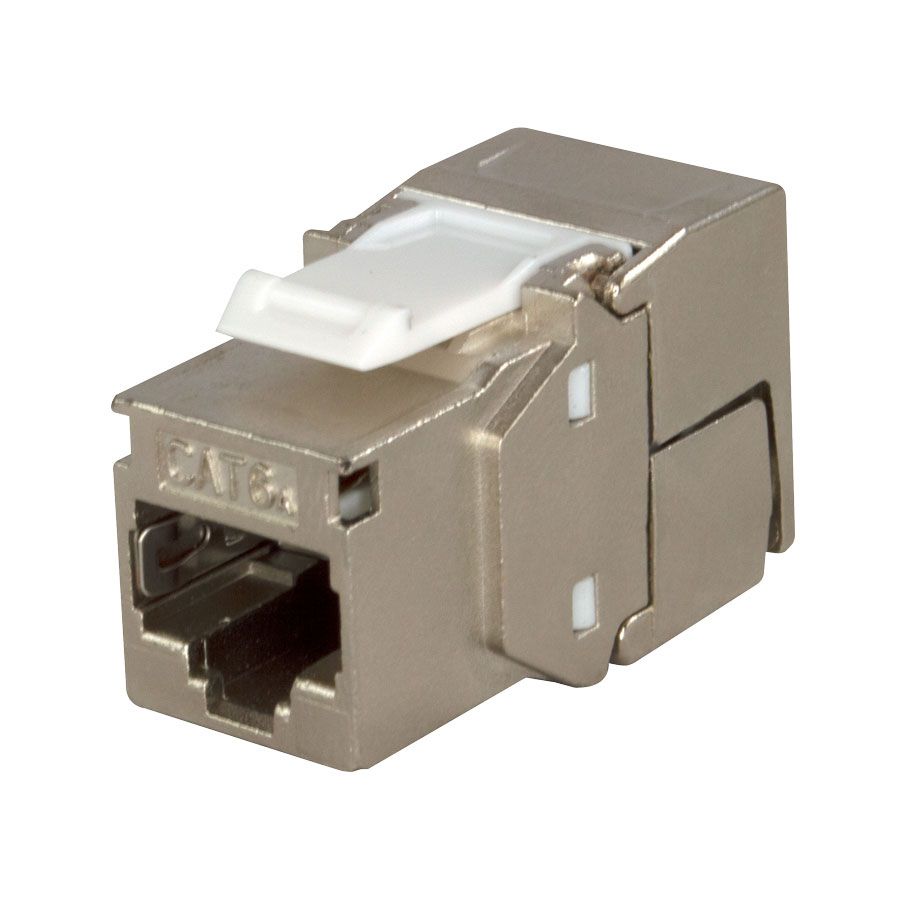
The brand new tool-less screened modular keystone jack features a die-cast housing. Innovative mechanism optimizes the PSANEXT & PSAACR-F - which are the most critical criteria outlined by Class EA standard.
Patented PCB route & unique contact alignment provides excellent works in easing the internal magnetic coupling up to bandwidth 500MHz.
Supports interoperable 10G BASE-T application, backward compatible to any Class E, Class D solution. Press-Fit tech. is applied, no solder, no Pb, purely RoHS compliant.
This tool-less keystone jack requires no punchdown tool to install. Easy installation instructions to follow simplify your work and increase your efficiency.
STEP BY STEP IN PICTURES


STEP 1
Shielded Wall Jack & CAT7A Network cable.
STEP 2
Open RJ45 wall jack and remove the wire cup.
STEP 3
Open the network cable and pull back the drain wire.
STEP 4
Remove the foil and fan out the wires.
STEP 5
Organize the wires and push them to the wire plug.
STEP 6
place the wires in the wire cup.
STEP 7
Make sure wire in the right place and pull the network cable back to tight the wires.
STEP 8
Cut the wire and fold them to side.
Note: this is the tricky part, the cable ends can't touch the plug body or you going to have shortcut.
STEP 9
Place the cup on the plug, follow the black arrows for the right direction!
STEP 10
Clamp the wire cup all the way in and close the plug, make sure it snap-in.
STEP 11
Pull back the drain wire and wrap it around the plug for ground.
STEP 12
Secure the plug with zip tie, I like to add tape.
Attache the plug to your wall jack or rack patch panel.
Hits: 68