
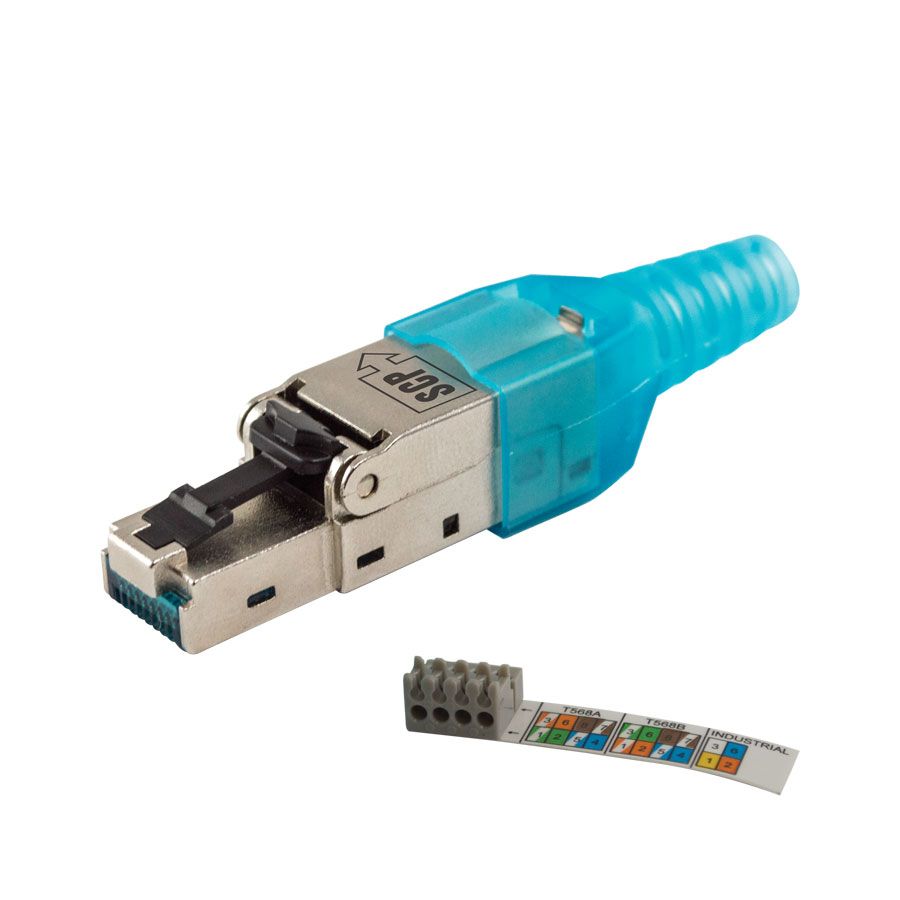
Tool Less Shielded RJ45 for CAT6 / CAT6A / CAT7 / CAT7A
When working with CAT6 and above there is some challenge to fit the wires in the right places, after trying few brands we came around this Jacks.
With this Jacks you can wire and rewire the jacks, not like traditional jacks that once you clamp it you can use or cut it out to do new one, you can easily open them jack pull out the wire, reorganize the wire and clamp it again.
We try to post video "how to setup shielded jack" it didn't work as the parts are too small and we keep losing zoom.
Instead we took pictures of the setup process zoomed in as much as we can.
Follow the instructions below to learn how to setup tool less RJ45 shielded jack.
STEP BY STEP IN PICTURES


STEP 1
Open the jack remove the stopper and the wire cap.
Parts:
- RJ45 Shielded Jack with stopper and wire cap.
- Strain relief.
- Zip tie.
STEP 2
Cut the wire and fold back the drain wire and shield.
Open the foil and cut it down as close as you can to the cable.
STEP 3
Fan the wires out and organize them by the color code.
STEP 4
Slide cables into to right place start with the bottom.
STEP 5
Place cables on top make sure they are in the right place.
STEP 6
- Push the cup down.
- Cut the wires to fit the cup.
- pull back the cup as much as you can
Note: this is the tricky part, since it's shielded jack they will shortcut the cable if the touch the plug from inside.
Also if the top cable are too long they will shortcut with the bottom wire when you clamp it.
STEP 7
Make sure everything in place and remove the wiring label.
I like to remove it after checking with a tester that all wires and ground is working.
STEP 8
Place the wire cap on the plug.
Only one way to do it, no room for mistakes here.
STEP 9
Close it down slowly, make sure the cup stay in place.
STEP 10
Close the plug, player is optional, clamp it until it completely snap-in.
STEP 11
Pull back the drain wire and strap it around the plug, for ground.
STEP 12
Lock it down with the zip tie, and pull back the strain relief, I like to add piece of tape just because...
Hits: 111